
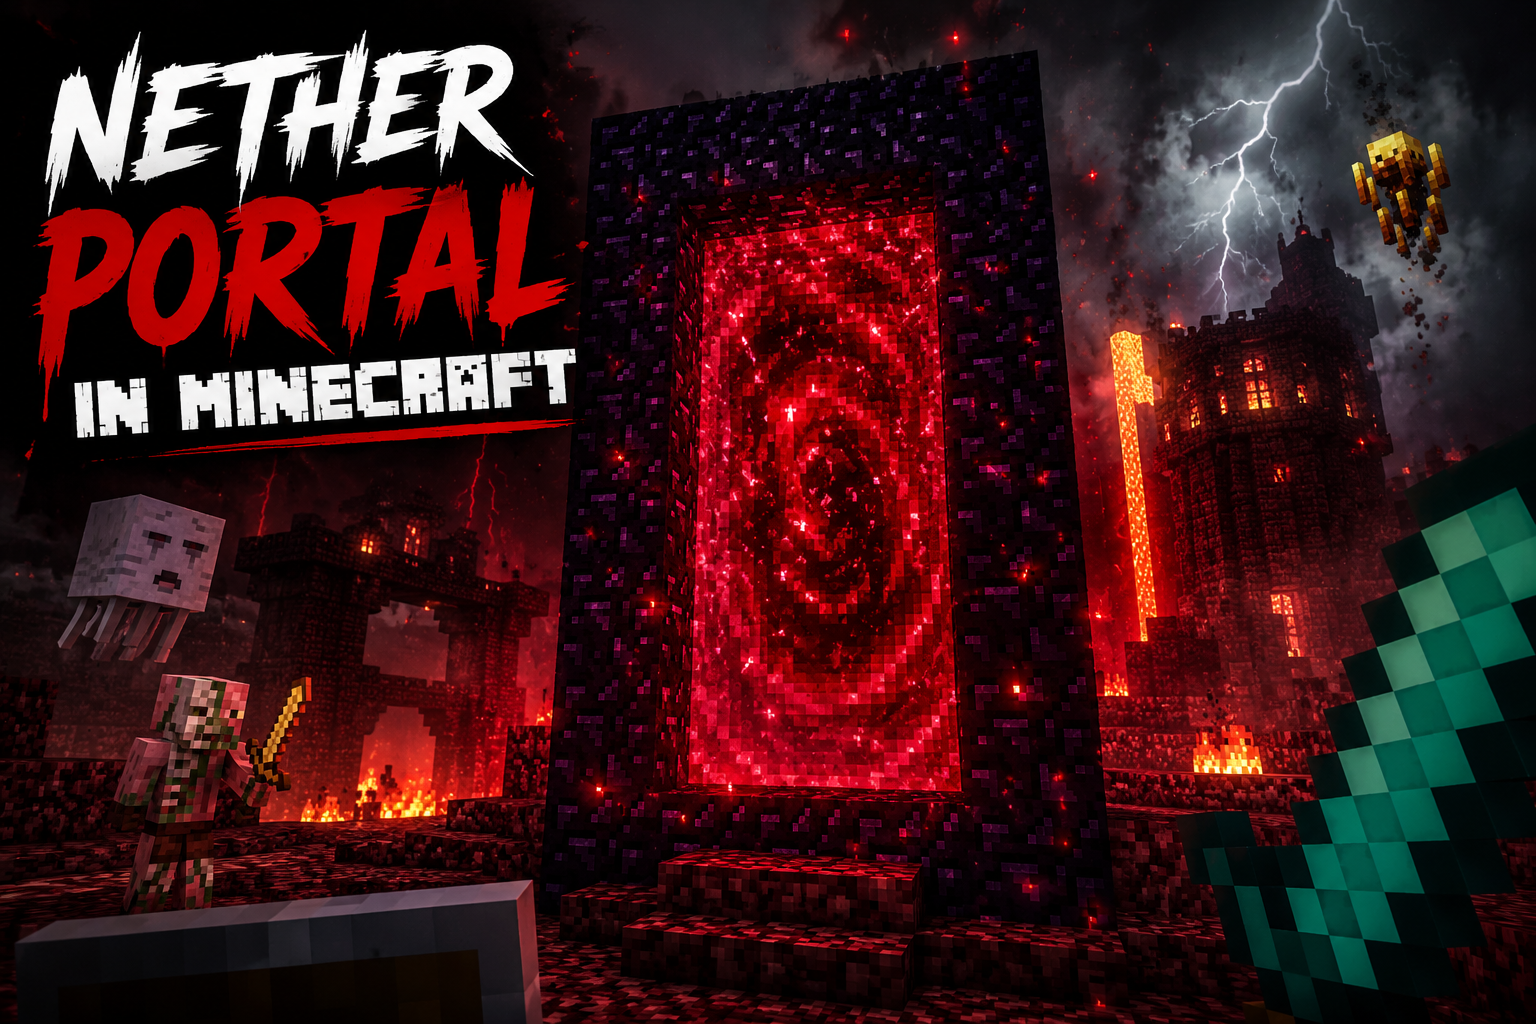
The Nether is one of the first major areas players want to visit after they settle into Survival mode. It offers new resources, dangerous mobs, and places such as Nether Fortresses. Once you know how to make a Nether Portal in Minecraft, the process is simple. You need regular obsidian, a way to create fire, and the correct frame design. Light the frame and the purple portal will appear, which gives you a path into the Nether.
Many new players get stuck on the obsidian, the frame size, or the correct way to activate the portal. Portal links can also cause confusion when a world has several portals.
This guide explains the full process in clear steps, along with portal repair, coordinate basics, common problems, safe Nether travel, and useful tips.
What You Need to Make a Nether Portal
The smallest working Nether Portal requires 10 regular obsidian blocks. You also need something that can ignite the portal. For most players, the easiest choice is flint and steel.
Flint and steel is made with one flint and one iron ingot. Both materials are reasonably easy to find in a normal Survival world, so this is usually the most convenient way to activate your first portal.
You do not need a special portal block in your inventory. The portal is created when the obsidian frame is built correctly and activated.
Materials You Need
| Material | Amount | Purpose |
|---|---|---|
| Obsidian | 10 minimum | Makes the portal frame |
| Flint | 1 | Used to make flint and steel |
| Iron ingot | 1 | Used to make flint and steel |
A full frame with all four corners uses 14 obsidian. The four corners are optional, so leaving them out saves four blocks. That small saving matters in early Survival because obsidian can take time to collect.
You should also think about where you are going to place the portal. A flat and safe area near your base is usually the easiest option for a first portal. Avoid placing it directly beside lava, on a narrow ledge, or somewhere that is difficult to defend.
How to Build a Nether Portal Step by Step
Building the portal itself only takes a few moments once you have the materials. The most important thing is to get the frame dimensions and block type right.
Step 1: Get the Obsidian
The easiest standard approach is to find lava and turn it into obsidian with water. Obsidian forms when water interacts with a suitable lava source. You can also mine naturally generated obsidian when you have the appropriate pickaxe.
If you are mining a large amount of obsidian, be careful around lava. Breaking an obsidian block can expose more lava underneath or beside it, and falling into a lava pool can quickly turn a routine mining trip into a lost inventory.
A useful Survival habit is to keep water nearby while working around lava. It gives you more control over the area and can turn exposed lava into solid blocks. You need 10 regular obsidian blocks for the minimum portal.
Step 2: Build the Portal Frame
Choose a safe location and place the obsidian in a vertical rectangle. The simplest design has:
2 obsidian blocks on the bottom
3 obsidian blocks on each side
2 obsidian blocks on the top
The corners remain empty. Once the frame is complete, look through the middle. You should see a completely open space measuring 2 blocks across and 3 blocks high. Do not fill the middle with glass, stone, cobblestone, or another material. The portal will occupy that opening when activated.
If you prefer the look of a complete rectangle, place obsidian in all four corners. It works the same way, but it costs 4 additional blocks. For a first portal, the cornerless design is normally the better choice because those extra blocks can be saved for later building projects.
Step 3: Make Flint and Steel
Flint and steel is your easiest activation tool. Craft it using:
1 flint + 1 iron ingot
Flint can be obtained from gravel, while iron is commonly obtained from iron ore and other normal Survival sources. Once crafted, keep the flint and steel in your hotbar so you can use it immediately. You only need one flint and steel to activate a normal portal.
Step 4: Light the Nether Portal
Stand close to the frame and use the flint and steel on the empty space inside the obsidian frame. When the frame is correct, the opening should fill with the purple animated portal effect. That purple field is the sign that your portal is active.
If nothing happens, do not immediately rebuild the whole thing. First check the frame dimensions, the type of blocks used, and whether the structure forms a valid rectangle. A fire charge can also be used as an alternative ignition method, but flint and steel is the simplest choice for a first portal.
Step 5: Enter the Nether
Walk into the purple portal and stay inside it. Minecraft will give you the portal effect and then move you to the Nether. Your first trip should not be treated like a casual walk through a doorway.
The Nether is full of lava, hostile creatures, dangerous terrain, and areas where it is easy to lose your way. The first thing you should do is identify where your portal is and make a note of its location. Building a small protective structure around the portal is also a smart move.
How to Make a Nether Portal Without a Diamond Pickaxe
Many beginners hear that obsidian requires a strong pickaxe and assume they must obtain diamonds before they can enter the Nether. That is not necessarily true.
You can create obsidian in place by using lava and water. This means you can construct the necessary portal frame without first mining a ready made supply of obsidian. This technique is especially useful in early Survival.
The basic idea is simple. You find lava, use a bucket to control it, and introduce water in the correct positions so that the lava becomes obsidian. You then create the frame block by block rather than mining and carrying ten finished obsidian blocks.
This method takes a little more planning, but it removes one of the biggest barriers to early Nether access. Be careful while doing it. Lava is still dangerous even when you are using it deliberately. Keep your movement controlled and avoid standing where a small mistake could put you directly into lava.
How to Get Obsidian Without Mining It
There are several practical ways to obtain the obsidian you need. The most useful option for a new Survival player is still the lava and water method. Find a suitable lava source and bring a water bucket. Use the water to turn the required lava into obsidian, then collect or shape the blocks you need.
Another option is to find existing obsidian in the world. Ruined Portals can provide useful obsidian pieces that can be incorporated into a portal repair. The main point is that you do not have to think of ten obsidian blocks as one huge mining task.
You can gather them gradually or create them where you need them. If you do have the correct pickaxe and find a large obsidian deposit, mining it directly is usually straightforward. Just remember that lava can be hidden below the blocks you are breaking. A good safety habit is to control nearby lava before committing to a long mining session.
How to Repair and Use a Ruined Portal
A Ruined Portal can save you time. These structures appear naturally in the Overworld and Nether and contain remnants of old portal frames. When you find one, do not assume you can light it immediately. Ruined Portals are damaged by design. Parts of the frame may be missing and the structure can include blocks that are not suitable for a functional portal frame.
Look carefully at the frame and identify the missing sections. If you have enough regular obsidian, repair the frame until it forms a valid portal shape. Crying obsidian is not a replacement for normal obsidian. This is especially important because crying obsidian looks similar to regular obsidian at first glance. Once the frame is repaired, use flint and steel on the portal opening.
A Ruined Portal can also contain useful loot, so it is worth exploring carefully after you make the area safe.
Why Is My Nether Portal Not Working?
When a portal refuses to activate, the problem is usually something simple.
Check the Frame Size
Make sure the frame is at least 4 blocks wide and 5 blocks tall on the outside. The opening should be 2 blocks wide and 3 blocks high for the smallest standard design.
Check the Blocks
The frame needs regular obsidian. Crying obsidian cannot be used as a normal replacement.
Check the Ignition
Use flint and steel inside the frame. If the portal is built correctly, the opening should fill with the purple portal effect.
Check for Broken Sections
A common mistake is building the frame correctly and then accidentally breaking part of it while working nearby. Look around the entire frame before rebuilding anything.
Check the World Settings
On some servers or custom worlds, portal behavior can be changed through game settings. For example, Minecraft Java Edition has a gamerule called allowEnteringNetherUsingPortals that can control whether players are allowed to enter the Nether using portals. This usually does not matter in a normal Survival world, but it can explain unusual behavior on a server or customized world.
Why Did My Nether Portal Take Me to the Wrong Place?
This becomes confusing when you have more than one portal. Minecraft does not simply memorize that one portal always belongs to another. Instead, the game uses your coordinates to determine the approximate destination in the other dimension and then searches for a suitable existing portal nearby. This is why two portals can sometimes connect in ways you did not expect.
The key rule is the 8 to 1 horizontal coordinate relationship between the Overworld and Nether. For example:
800 Overworld blocks ≈ 100 Nether blocks
If another portal already exists close to that destination, Minecraft may use it. This is not random behavior. Once you understand the coordinate relationship, portal linking becomes much easier to control.
How Far Apart Should Nether Portals Be?
There is no single distance rule that guarantees separate portal connections. The better approach is to think about coordinate alignment rather than distance alone.
Technical references commonly describe portal searching across a range around the calculated destination, with a distance of about 128 blocks in the Nether often used when explaining the mechanic. Because of the 8 to 1 scale, this is roughly equivalent to 1024 blocks in the Overworld.
This does not mean every portal must be more than 1024 blocks apart. You can have portals much closer together. The important thing is to manually place their corresponding Nether portals near the correct converted coordinates when you need separate connections.
For a simple Survival world, you may never need to think about the exact search range. For a larger world with several portals, understanding it can save a lot of frustration.
How to Stay Safe When Entering the Nether
Getting through the portal is only half the job. Your first Nether trip should be treated like an expedition.
Bring: Food, Building blocks, A weapon, A pickaxe, Enough equipment to survive an unexpected fight
Most importantly, protect your portal. A portal sitting in the open can become difficult to find or dangerous to approach if the surrounding terrain is hostile. Building a small enclosure around it is a simple improvement. You do not need an enormous fortress.
A basic protective room can make the entrance much easier to identify and give you somewhere to retreat when a hostile creature appears.
Record Your Portal Coordinates
This is one of the simplest habits that can save you later. Write down the coordinates or take a screenshot. Once you have several portals, remembering them becomes much harder.
Look Around Before Leaving
Do not immediately sprint away from a newly generated portal. The Nether portal can generate in an awkward or dangerous location. You may find yourself near lava, cliffs, hostile mobs, or difficult terrain.
Look around first. Then secure the entrance before exploring further.
Keep the Portal Easy to Find
A small protected room, distinctive blocks, signs, or other visual markers can make a big difference. You do not want to return from exploring and spend several minutes searching for the purple doorway.
Can You Make a Bigger Nether Portal?
Yes. The basic 4 by 5 portal is only the minimum size. Minecraft supports much larger portal structures, with Mojang confirming that a Nether Portal can be up to 23 blocks wide. For most players, the standard portal is enough. Larger portals become more useful when you want the Nether entrance to become part of a larger base design.
You can build a dedicated portal room, put it inside a castle entrance, or create a large Nether hub for several travel routes. Making the portal larger does not change its basic purpose. It still needs a valid rectangular obsidian frame and an open interior that can become the portal field.
If you are short on resources, there is no real reason to build a giant portal at the beginning of a new world. Start small. Upgrade it later when you have more obsidian and a good reason to make the entrance part of your base.
Nether Portal Tips and Common Mistakes
The first common mistake is using too much obsidian without realizing that the corners are optional.
10 obsidian is enough for the smallest working portal. Another common mistake is confusing regular obsidian with crying obsidian. They look similar, but they do not serve the same role in a standard portal frame. Players also regularly build the wrong dimensions.
Remember:
Outer frame: 4 blocks wide
Outer frame: 5 blocks tall
Inner opening: 2 blocks wide
Inner opening: 3 blocks high
Another mistake is building the portal in a terrible location. A portal directly beside your base may sound convenient, but putting it on the edge of a cliff, inside a cramped space, or beside easily damaged structures can create problems later. Give yourself some breathing room.
Do not assume the Nether side will automatically be safe either. The newly generated portal can appear in an inconvenient location, so be prepared to protect the entrance immediately. It is also easy to forget portal coordinates. That may not matter when you have one portal. It matters a lot when you have several. Keep track of the location of important portals, especially when they connect different bases or travel routes.
Creating a second Overworld portal without first planning where its Nether counterpart should be can also cause connection problems. Minecraft uses coordinate conversion and portal searching, so multiple portals can compete for the same destination. If a portal connects incorrectly, do not assume your world is broken.
Check the X and Z coordinates. Convert them using the 8 to 1 relationship. Look for another active portal close to the calculated destination. Then build the intended counterpart around the correct location. For everyday Survival, the basic process remains wonderfully simple.
Build a valid obsidian frame.
Use flint and steel.
Light the inside.
Walk through the purple portal.
The deeper mechanics become important when you start building a larger transportation network. That is where Nether Portals become much more than simple gateways. A carefully planned portal can connect distant bases, shorten long journeys, provide access to Nether resources, and form the foundation of a fast travel network across your Minecraft world.
Start with the smallest portal. Get it working. Protect the Nether side. Record your coordinates. Then learn how portal linking works as your world grows.
Once you understand the 10 obsidian requirement, correct frame dimensions, 8 to 1 coordinate relationship, and portal linking mechanics, Nether travel becomes far less confusing and much more useful.
Closing Thoughts
Making a Nether Portal is much easier once you know the basics. 10 regular obsidian blocks, a flint and steel, and the correct frame are enough to create the smallest working portal. From there, the Nether opens up access to new resources, dangerous areas, and much faster ways to travel across your Minecraft world.
The biggest problems usually come from incorrect frame sizes, unsuitable blocks, unsafe portal locations, or confusing portal connections. Keeping your portal protected and recording its coordinates can save you a lot of trouble later, especially after you start building more than one portal.
Start with a simple portal, make sure it works, and focus on staying safe when you first enter the Nether. As your world grows, understanding the 8 to 1 coordinate relationship and portal linking will let you create reliable travel routes between distant locations. With a little planning, your Nether Portal can become much more than an entrance to another dimension. It can become one of the most useful travel systems in your entire Minecraft world.